

Build a Custom Shopify Contact Form Section in Liquid
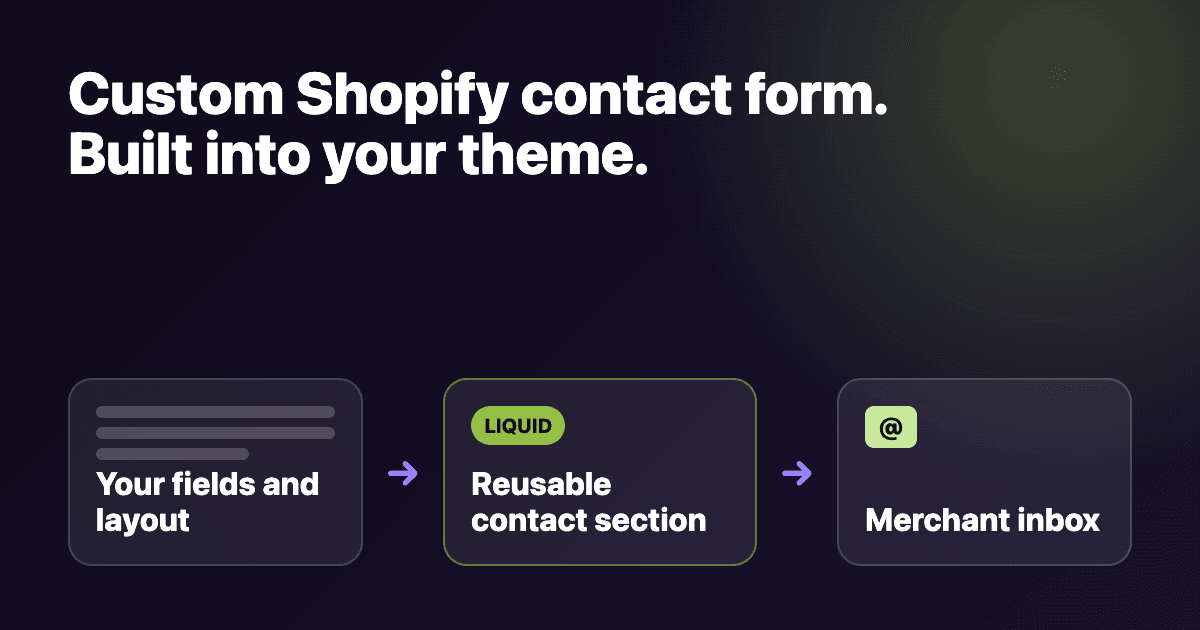
Shopify already has a contact endpoint, so a custom form does not need an app or a separate server. The part worth customizing is the Liquid section around it: your fields, your layout, and settings a merchant can change in the theme editor.
This tutorial builds one reusable section for an Online Store 2.0 theme. It keeps Shopify's native contact delivery, error handling, and hCaptcha wiring instead of copying an undocumented /contact request by hand.
Choose the native route before adding another service
Use Shopify's native contact form when you need a message sent to the store's sender email. It is the smallest setup, and every Shopify theme has a contact-form template. Shopify's contact-page guide says the notification subject is fixed, and messages its filter identifies as spam are still delivered with [SPAM] added to the subject.
An external form endpoint makes more sense when the workflow has to leave Shopify: a separate recipient, webhook, Google Sheet, or another delivery path. In that case, use a normal HTML form and follow the endpoint's field contract. Static Forms documents that version in its plain HTML guide. Do not mix half of Shopify's generated form markup with half of another provider's request format.
For the native section below, you need permission to edit theme code. Duplicate the live theme first. A syntax mistake is much less exciting when it lands in an unpublished copy.
Add a reusable Liquid section
Open Online Store > Themes, duplicate the theme, then choose Edit code on the copy. Under sections, create custom-contact-form.liquid and paste the complete file below.
{%- assign form_id = 'CustomContactForm-' | append: section.id -%}

<section class="custom-contact section-{{ section.id }}-padding">
  <div class="custom-contact__inner">
    {%- if section.settings.heading != blank -%}
      <h2>{{ section.settings.heading | escape }}</h2>
    {%- endif -%}

    {%- form 'contact', id: form_id, class: 'custom-contact__form' -%}
      {%- if form.posted_successfully? -%}
        <p class="custom-contact__notice" role="status" tabindex="-1">Thanks. Your message has been sent.</p>
      {%- elsif form.errors -%}
        <div class="custom-contact__notice custom-contact__notice--error" role="alert" tabindex="-1">
          {{ form.errors | default_errors }}
        </div>
      {%- endif -%}

      <div class="custom-contact__grid">
        <div class="custom-contact__field">
          <label for="CustomContactName-{{ section.id }}">Name</label>
          <input
            id="CustomContactName-{{ section.id }}"
            type="text"
            name="contact[Name]"
            value="{{ form.name | escape }}"
            autocomplete="name"
            required
          >
        </div>

        <div class="custom-contact__field">
          <label for="CustomContactEmail-{{ section.id }}">Email</label>
          <input
            id="CustomContactEmail-{{ section.id }}"
            type="email"
            name="contact[email]"
            value="{{ form.email | escape }}"
            autocomplete="email"
            autocapitalize="off"
            spellcheck="false"
            required
          >
        </div>
      </div>

      <div class="custom-contact__field">
        <label for="CustomContactOrder-{{ section.id }}">Order number <span>(optional)</span></label>
        <input
          id="CustomContactOrder-{{ section.id }}"
          type="text"
          name="contact[Order number]"
          autocomplete="off"
        >
      </div>

      <div class="custom-contact__field">
        <label for="CustomContactTopic-{{ section.id }}">What can we help with?</label>
        <select id="CustomContactTopic-{{ section.id }}" name="contact[Topic]" required>
          <option value="" selected disabled>Choose a topic</option>
          <option value="Product question">Product question</option>
          <option value="Order help">Order help</option>
          <option value="Returns">Returns</option>
          <option value="Something else">Something else</option>
        </select>
      </div>

      <div class="custom-contact__field">
        <label for="CustomContactMessage-{{ section.id }}">Message</label>
        <textarea
          id="CustomContactMessage-{{ section.id }}"
          name="contact[body]"
          rows="7"
          required
        >{{ form.body | escape }}</textarea>
      </div>

      <button class="custom-contact__button" type="submit">
        {{ section.settings.button_label | escape }}
      </button>
    {%- endform -%}
  </div>
</section>

{% stylesheet %}
  .custom-contact {
    padding: 3rem 1.25rem;
  }

  .custom-contact__inner {
    width: min(100%, 48rem);
    margin-inline: auto;
  }

  .custom-contact__inner h2 {
    margin: 0 0 1.5rem;
  }

  .custom-contact__form,
  .custom-contact__field {
    display: grid;
    gap: 0.5rem;
  }

  .custom-contact__form {
    gap: 1.25rem;
  }

  .custom-contact__grid {
    display: grid;
    gap: 1rem;
  }

  .custom-contact__field label {
    font-weight: 650;
  }

  .custom-contact__field label span {
    font-weight: 400;
    opacity: 0.7;
  }

  .custom-contact__field input,
  .custom-contact__field select,
  .custom-contact__field textarea {
    width: 100%;
    min-height: 3rem;
    padding: 0.75rem;
    color: rgb(var(--color-foreground));
    background: rgb(var(--color-background));
    border: 1px solid rgba(var(--color-foreground), 0.35);
    border-radius: 0.35rem;
    font: inherit;
  }

  .custom-contact__field textarea {
    resize: vertical;
  }

  .custom-contact__field input:focus-visible,
  .custom-contact__field select:focus-visible,
  .custom-contact__field textarea:focus-visible,
  .custom-contact__button:focus-visible {
    outline: 3px solid currentColor;
    outline-offset: 3px;
  }

  .custom-contact__button {
    justify-self: start;
    min-height: 3rem;
    padding: 0.75rem 1.25rem;
    color: rgb(var(--color-button-text));
    background: rgb(var(--color-button));
    border: 0;
    border-radius: 0.35rem;
    font: inherit;
    font-weight: 700;
    cursor: pointer;
  }

  .custom-contact__notice {
    padding: 1rem;
    border: 1px solid currentColor;
    border-radius: 0.35rem;
  }

  .custom-contact__notice--error {
    color: #9b1c1c;
  }

  @media screen and (min-width: 750px) {
    .custom-contact__grid {
      grid-template-columns: repeat(2, minmax(0, 1fr));
    }
  }
{% endstylesheet %}

{% schema %}
{
  "name": "Custom contact form",
  "tag": "section",
  "class": "section",
  "limit": 1,
  "settings": [
    {
      "type": "text",
      "id": "heading",
      "label": "Heading",
      "default": "Contact us"
    },
    {
      "type": "text",
      "id": "button_label",
      "label": "Button label",
      "default": "Send message"
    }
  ],
  "presets": [
    {
      "name": "Custom contact form"
    }
  ]
}
{% endschema %}
The section uses Shopify's documented {% form 'contact' %} tag. Shopify generates the form element and the hidden fields its contact endpoint expects. The only server-required field documented by Shopify is contact[email]; the required attributes on the other fields enforce the visitor-facing rules in this design.
Each optional field has its own contact[...] name. That text becomes the field title in the notification, so contact[Topic] is more useful than contact[field_3]. Shopify also warns that checkbox groups need unique names or only the last selected value will make it through.
Add the section in the theme editor
Save the file, then open Customize for the duplicated theme. Navigate to the page that should hold the form, choose Add section, and select Custom contact form.
The presets entry is what makes the section appear in that picker. Shopify's section architecture guide explains that without a preset, a section has to be added to the JSON template by hand and cannot be removed in the editor. The limit setting keeps this particular form to one instance per template.
If the section does not appear, check the saved file before blaming the editor. A second {% schema %} block, invalid JSON, or a schema nested inside another Liquid tag causes a theme syntax error. Shopify allows exactly one schema block per section.
Keep Shopify's hCaptcha wiring intact
Shopify uses hCaptcha on customer, contact, and blog-comment forms. The Liquid contact tag outputs the form attributes Shopify uses to identify a protected contact form. Keep {{ content_for_header }} in the theme layout because Shopify supplies the required CAPTCHA code through it.
A visitor may never see a puzzle. Shopify first scores behavior and can send suspicious or rapid requests to /challenge. If a performance or consent tool blocks the CAPTCHA resources, test with that tool disabled before changing the form.
This is one reason to keep the Liquid tag rather than hand-writing its generated hidden inputs. If you intentionally switch to a third-party endpoint, Shopify's native CAPTCHA contract no longer describes that submission. Use the spam controls supplied by the endpoint instead. Static Forms has separate guides for its honeypot field and domain restriction.
Test the form on the unpublished theme
Preview the duplicated theme and run these checks before publishing it:
- Submit with every field empty. The browser should move focus to the first required field.
- Enter an invalid email address. The email control should reject it before submission.
- Send a message with synthetic data. Confirm the success notice appears and the store's sender inbox receives the notification.
- Submit a known bad value during a controlled test and confirm the error list is readable. Do not use a customer's address or order details for test data.
- Repeat the form on a 390-pixel viewport. The two-column row should collapse to one column without page-level horizontal scrolling.
- Use the Tab key through every control. The focused item should have a visible outline, including the submit button.
A successful page transition only proves Shopify accepted the form post. Inbox delivery is a separate check. If the success state appears but no email arrives, verify the sender email under Shopify's notification settings and inspect spam filtering before rewriting the section.
Fix the failures that tend to waste time
The message arrives without a custom field
Check its name, not its id. Shopify expects contact[information_id] names for optional data. Every information identifier must be unique inside the form.
The form reloads with no useful error
Render form.errors, as the section does above. default_errors turns Shopify's error object into translated messages. Keep the error container in the page rather than replacing it with a console log visitors will never see.
The section saves but is missing from Add section
The usual culprit is a missing presets array. If the preset exists, validate the schema JSON and confirm the file is in the theme's sections directory.
CAPTCHA never appears
That can be normal because Shopify does not always show an interactive challenge. Check whether the form uses the native contact tag and whether the theme still renders content_for_header. Shopify's CAPTCHA guide says a protected submission includes a populated h-captcha-response value; use the browser's Network panel when you need to inspect that controlled test.
The form looks wrong in another theme
The CSS uses common Shopify color variables, but themes are allowed to define their own design systems. Inspect the active theme's existing inputs and buttons, then replace the small style block with those classes or tokens. Keep the labels, focus outline, and error/status semantics when you do.
Know when this section has reached its limit
The native route is a good fit for a store inbox. It is a poor fit when each topic must reach a different team, a successful submission must trigger an automation, or the form should live outside Shopify as well.
For an external endpoint, replace the Liquid form block with one complete provider-specific HTML form. Static Forms needs the POST action and form key shown in its form basics documentation. Test the published storefront origin, not only Shopify's theme preview, especially when domain restrictions are enabled.
Keep the duplicated theme around until the first real message has been delivered and checked. After that, the maintenance rule is simple: when you add a field, test its label, its contact[...] name, the success/error state, and the email that lands in the inbox.
Related Articles
Use a Custom Squarespace Form Without Losing Your Styling
Add a custom Squarespace contact form that keeps your site styling. Use tested HTML, a thank-you page, accessible focus states, and production checks.
Vercel Static Site Contact Form: Plain HTML Tutorial
Build a working contact form for a static Vercel site with one HTML file. Add accessible status feedback, preview testing, spam controls, and production checks.
Angular Contact Form Without a Backend: Reactive Forms Guide
Build an Angular contact form with Reactive Forms and HttpClient. Add accessible validation, honest status messages, spam controls, and production checks.







































