

Use a Custom Squarespace Form Without Losing Your Styling
Squarespace's built-in Form Block is the sensible default for most contact pages. A custom form earns its keep when the stock field layout or button markup gets in the way of the design you already have.
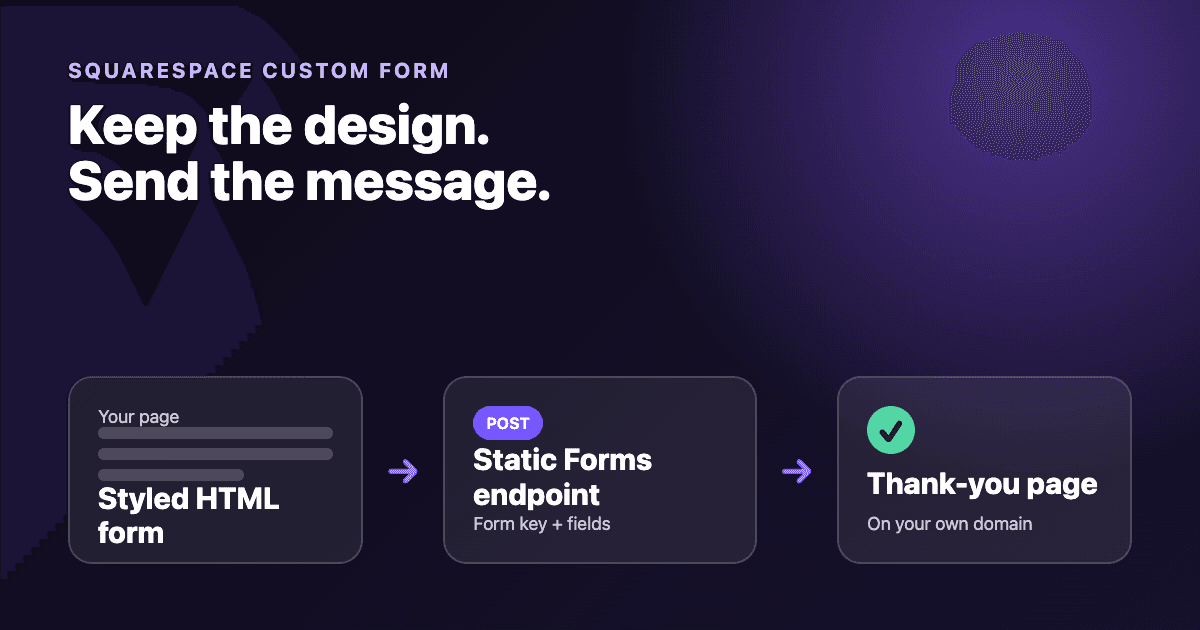
This version lives in a Squarespace Code Block, posts straight to Static Forms, and returns visitors to a thank-you page on your own site. It uses ordinary HTML and CSS, so there is no script to maintain and no webhook secret in the page source.
Decide whether you need custom code
Use a Form Block if its fields and styling controls cover the job. It stays inside Squarespace's editor and gives future maintainers fewer moving parts.
Use a Code Block when you need exact markup, an unusual layout, or CSS that should apply only to this form. Squarespace's current Code Blocks guide explains how to add HTML to a page. This tutorial does not use site-wide code injection.
You will need:
- a Squarespace page with room for a Code Block;
- a Static Forms form key from your dashboard;
- a published thank-you page, such as
https://example.com/thanks.
The form key is a browser-visible identifier. Anyone can see it in the page source, just as they can see a native HTML form's destination. Do not put SMTP passwords, webhook credentials, database keys, or other secrets in the block.
Add the form without replacing your page styles
Edit the Squarespace page, add a Code Block, select HTML if the editor asks for a mode, and paste this fragment. Replace the two YOUR_... placeholders before publishing.
<style>
  .sf-contact {
    --sf-border: #c9c5d4;
    --sf-focus: #6d4aff;
    --sf-button: #171321;
    display: grid;
    gap: 1rem;
    max-width: 42rem;
    margin-inline: auto;
  }

  .sf-contact__row {
    display: grid;
    gap: 1rem;
  }

  @media (min-width: 640px) {
    .sf-contact__row {
      grid-template-columns: 1fr 1fr;
    }
  }

  .sf-contact label {
    display: grid;
    gap: 0.4rem;
    font: inherit;
  }

  .sf-contact input,
  .sf-contact textarea {
    width: 100%;
    box-sizing: border-box;
    border: 1px solid var(--sf-border);
    border-radius: 0.5rem;
    padding: 0.8rem 0.9rem;
    color: inherit;
    background: transparent;
    font: inherit;
  }

  .sf-contact textarea {
    min-height: 9rem;
    resize: vertical;
  }

  .sf-contact input:focus-visible,
  .sf-contact textarea:focus-visible,
  .sf-contact button:focus-visible {
    outline: 3px solid var(--sf-focus);
    outline-offset: 3px;
  }

  .sf-contact button {
    justify-self: start;
    border: 0;
    border-radius: 999px;
    padding: 0.8rem 1.25rem;
    color: #fff;
    background: var(--sf-button);
    font: inherit;
    font-weight: 700;
    cursor: pointer;
  }

  .sf-contact__trap {
    position: absolute;
    left: -10000px;
    width: 1px;
    height: 1px;
    overflow: hidden;
  }
</style>

<form
  class="sf-contact"
  action="https://api.staticforms.dev/submit"
  method="post"
>
  <input type="hidden" name="apiKey" value="YOUR_STATIC_FORMS_KEY" />
  <input
    type="hidden"
    name="redirectTo"
    value="https://YOUR-DOMAIN.example/thanks"
  />
  <input type="hidden" name="subject" value="Squarespace contact form" />

  <div class="sf-contact__trap" aria-hidden="true">
    <label for="website">Leave this field empty</label>
    <input
      id="website"
      name="honeypot"
      type="text"
      tabindex="-1"
      autocomplete="off"
    />
  </div>

  <div class="sf-contact__row">
    <label>
      Name
      <input
        id="contact-name"
        name="name"
        type="text"
        autocomplete="name"
        required
      />
    </label>

    <label>
      Email
      <input
        id="contact-email"
        name="email"
        type="email"
        autocomplete="email"
        required
      />
    </label>
  </div>

  <label>
    Message
    <textarea id="contact-message" name="message" required></textarea>
  </label>

  <button type="submit">Send message</button>
</form>
The sf-contact prefix keeps these selectors away from unrelated inputs elsewhere on the page. The form still inherits your site's typeface and text color because the controls use font: inherit and color: inherit. Change the three custom properties at the top if the border, focus ring, or button color clashes with your theme.
Do not remove the focus styles just because the browser outline looks different from the mockup. Keyboard users need a clear indication of the active field.
Create the thank-you page before testing
Add a normal Squarespace page at the URL used by redirectTo. Keep the message specific: confirm that the form was received, say when someone normally replies if you have a real service target, and provide another contact method for urgent requests.
Do not claim that an email was delivered. A successful form request proves that the receiving service accepted the submission. Inbox delivery is a separate step and can still be affected by recipient verification, filtering, or a bounced address.
If the thank-you page is not ready, remove the redirectTo input while you test. The endpoint will return its own response instead of sending the browser to a missing page.
Publish and run a real submission test
Squarespace previews can differ from the published page, particularly around custom code. Save the block, publish the page, and test the public URL.
- Submit a message with a distinctive value such as
Squarespace production test 2026-08-27. - Confirm that the browser reaches the exact thank-you URL.
- Open Static Forms and confirm that the submission appears in the intended form.
- Check the delivery status separately. If email delivery matters, verify the message at the recipient rather than stopping at the thank-you page.
- Repeat at a narrow mobile width. Make sure the two-column row collapses, labels remain visible, and the page has no horizontal scroll.
Delete the test submission when you no longer need it. Avoid using a real customer's name, email address, or message for a production check.
Match domain restrictions to the published origin
If you enable Static Forms domain restriction, allow the exact production hostname that sends the form. www.example.com and example.com are different origins, and a Squarespace system or preview hostname is different again. The domain restriction guide covers the dashboard setting and the expected blocked response.
Test the published custom domain after changing the allowlist. A preview working on a Squarespace-owned URL does not prove the custom domain is allowed.
Fix the failures you are most likely to see
The Code Block displays markup as text
Edit the block and confirm that it is configured for HTML rather than plain text. If Squarespace's editor changes the pasted markup, compare the saved block with the original fragment and follow the platform's current Code Block guidance.
The form returns an API-key error
Replace YOUR_STATIC_FORMS_KEY with the form key from the correct Static Forms account. Keep the hidden input name exactly apiKey; the current API reference lists it as the required submission parameter.
The form submits but the thank-you page is missing
Open the redirectTo value directly. It must be a complete, published URL. Watch for an old staging domain, a typo in the path, or a page that Squarespace still marks as disabled.
The published page loses its layout
Check for broad selectors in other custom CSS, such as form input { ... }, that override this block. Keep edits under .sf-contact, then inspect both desktop and mobile. If your template applies a fixed width to Code Blocks, remove that width rather than shrinking the inputs.
The submission is accepted but no email arrives
Look for the record in Static Forms first. If it exists, the browser and endpoint path worked. Check the form's recipient and delivery status, then inspect spam filtering and bounces. The API reference deliberately separates an accepted submission from guaranteed email delivery.
Know the trade-off you are making
A Code Block gives you control over the markup, but you own the test whenever your Squarespace template or custom CSS changes. A native Form Block is easier for a non-technical editor to maintain. A custom block is better when its precise structure matters enough to justify that responsibility.
Keep the finished fragment in your project notes, include the form's thank-you URL, and run one submission after major theme edits. That small bit of documentation saves a surprising amount of archaeology later.
Related Articles
Vercel Static Site Contact Form: Plain HTML Tutorial
Build a working contact form for a static Vercel site with one HTML file. Add accessible status feedback, preview testing, spam controls, and production checks.
Build a Custom Shopify Contact Form Section in Liquid
Build a reusable Shopify contact form section in Liquid. Add custom fields, accessible errors, native hCaptcha, theme settings, and a storefront test.
Angular Contact Form Without a Backend: Reactive Forms Guide
Build an Angular contact form with Reactive Forms and HttpClient. Add accessible validation, honest status messages, spam controls, and production checks.







































